> ## Documentation Index
> Fetch the complete documentation index at: https://docs.sensorup.com/llms.txt
> Use this file to discover all available pages before exploring further.
# Issues Overview
> Learn how to create, assign, and track Issues to manage field operations and office inspections and emission follow-ups.
Welcome to **Issues in SensorUp**—your central workspace for coordinating inspection work, tracking emissions-related tasks, and managing field operations and office workflows efficiently. In just a few minutes, you'll create your first Issue, assign it to a technician or office staff member, and track its lifecycle from creation to completion.
**Time Required:** 5–7 minutes\
**What You'll Learn:**
* How to create and assign an Issue
* How to track tasks, comments, and data collection
* How to collaborate between field operations and the office in real-time
**Common Pitfalls:**
* Forgetting to assign an Issue—unassigned tickets won't appear in the field app
* Missing due dates or severity—these help prioritize and schedule field operations and office work effectively
## Your First Steps
Click the **New Issue** button in the top left corner of Mission Control.
* Set the **Asset** the Issue relates to
* Provide a meaningful **title** and **description** (dynamic properties can be used)
* Choose a **due date** to enforce timely completion
* Select a **severity** level (Critical, High, Medium, Low) to prioritize
* **Assign** the Issue to a technician or team
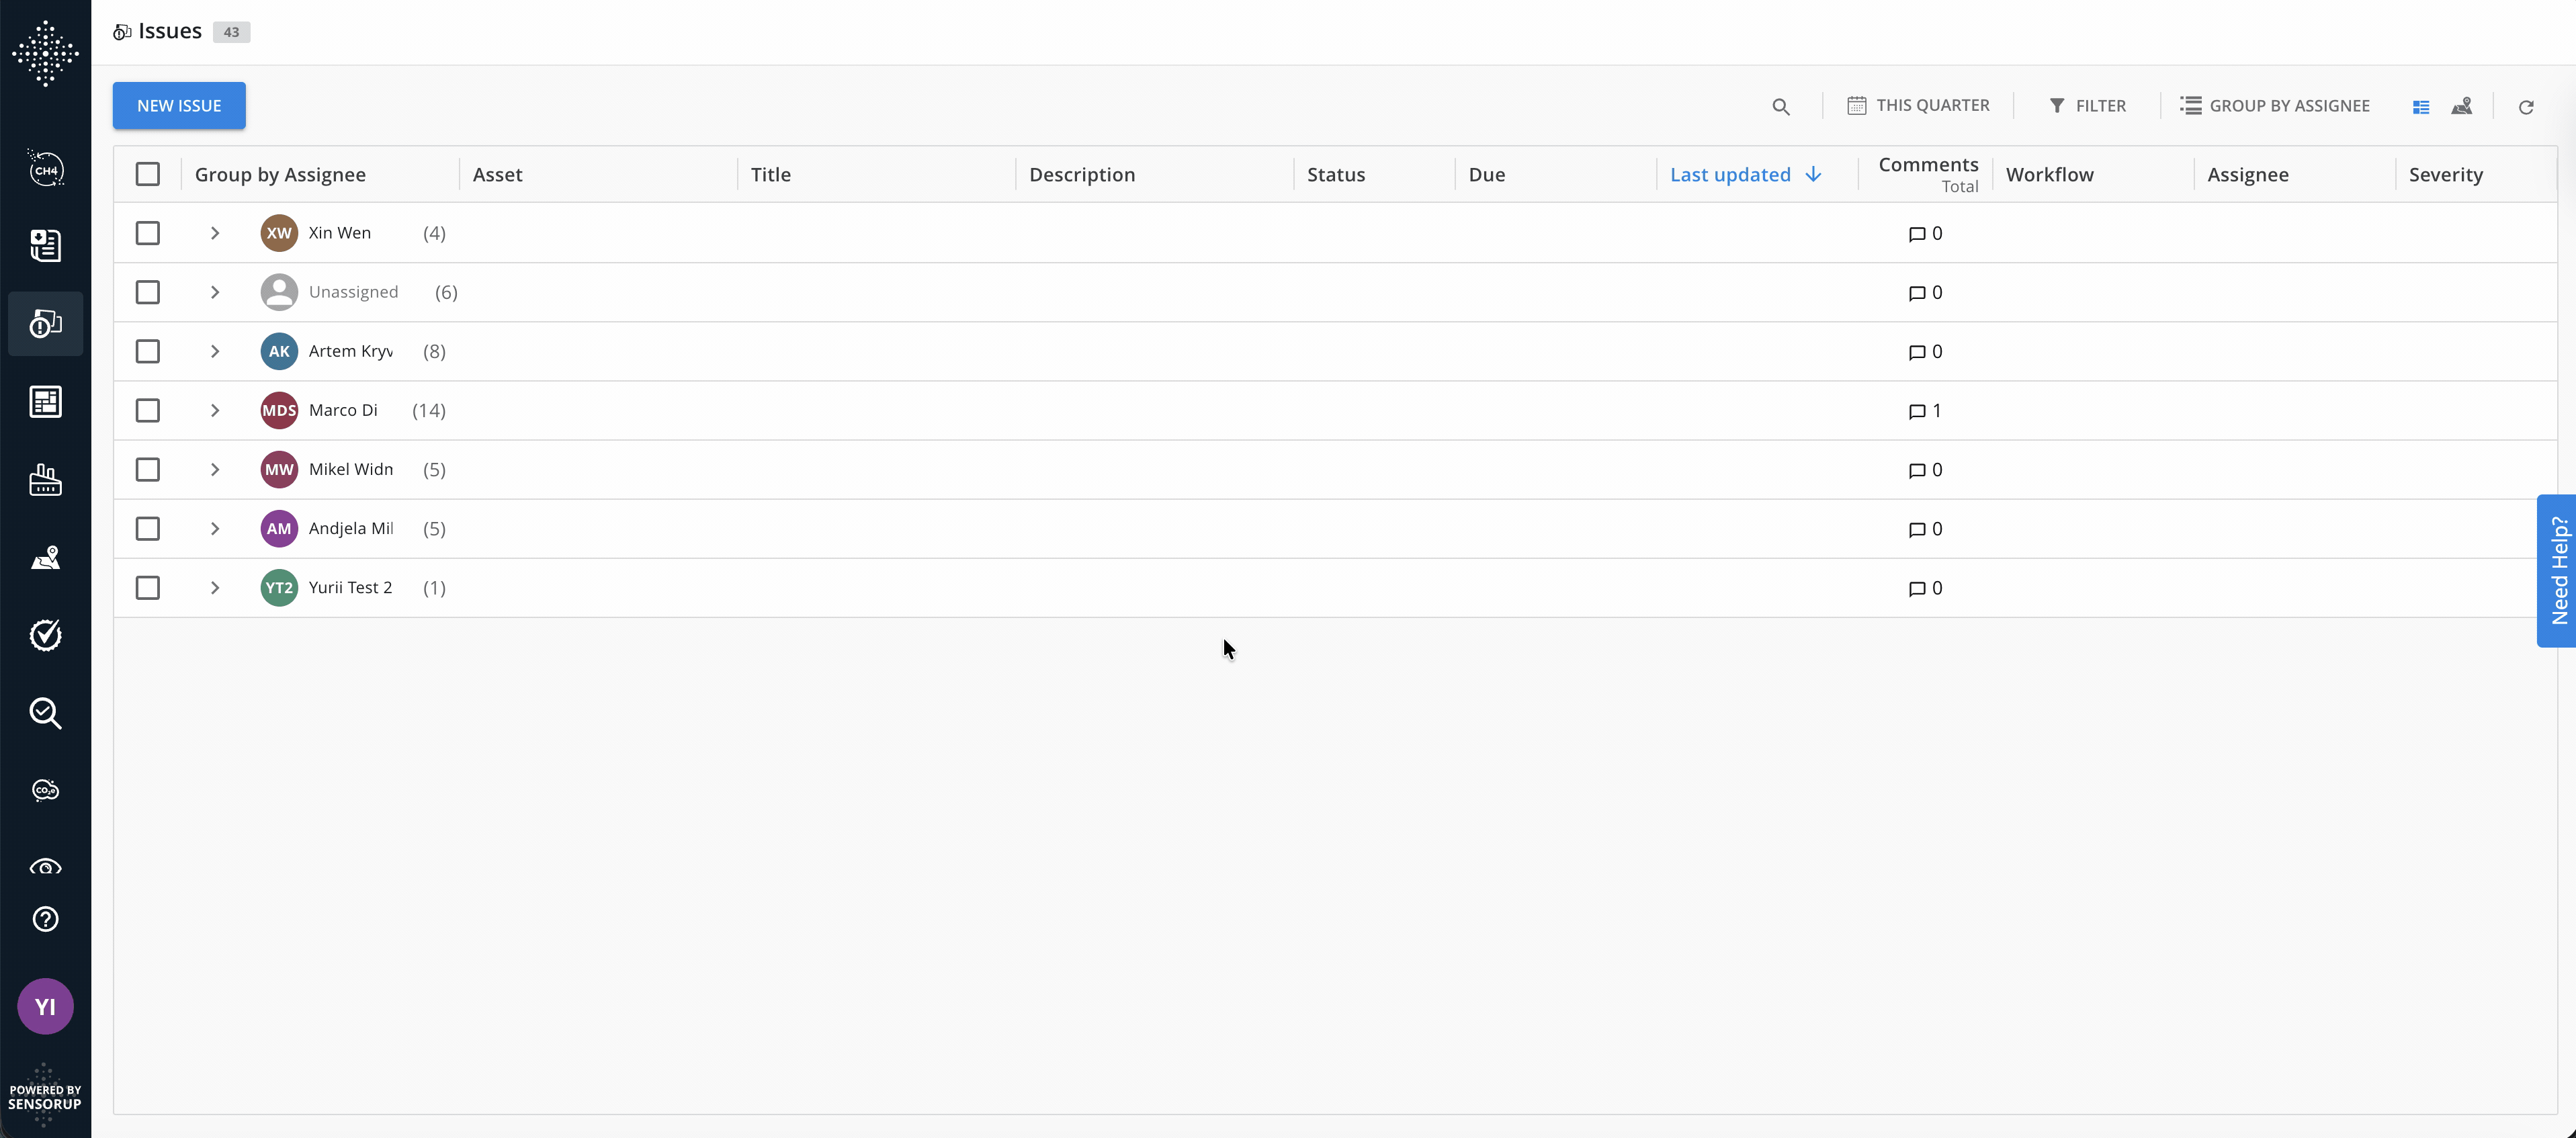
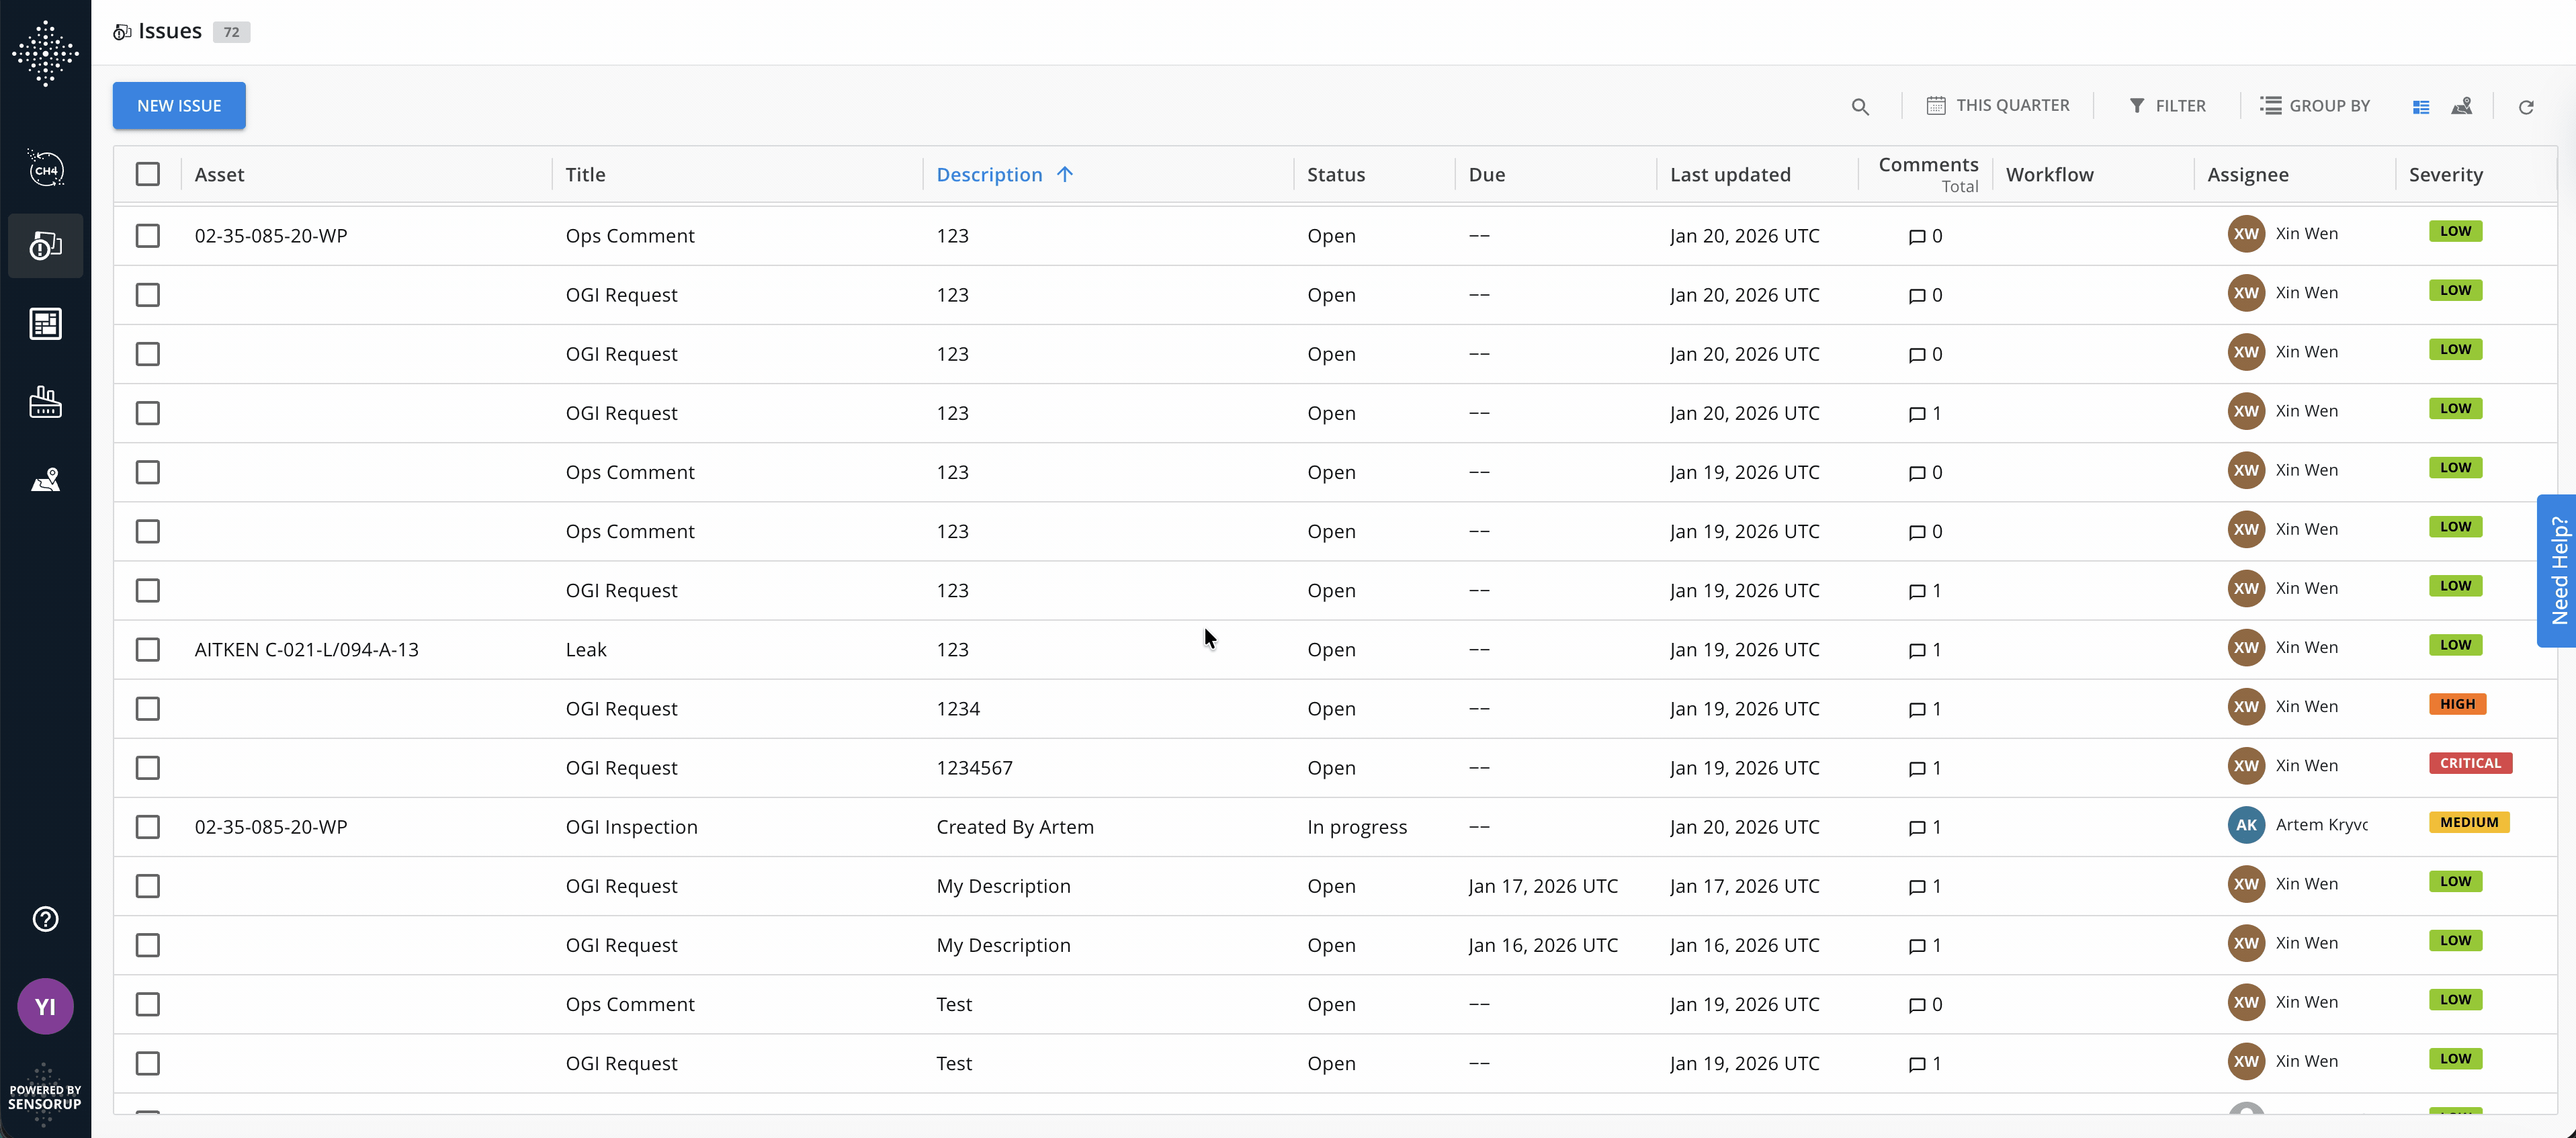
Each created Issue will appear in the main list for tracking and management.
 Clicking on any Issue in the list opens its detailed view:
* See the linked **Asset** and its metadata
* View and manage **instructions, tasks, and results**
* Use the **search and filter** tools to refine your view—filters are saved per user
* Monitor **modified data** streamed from field operations and office work in near real-time
* Add **comments** to coordinate with others
Clicking on any Issue in the list opens its detailed view:
* See the linked **Asset** and its metadata
* View and manage **instructions, tasks, and results**
* Use the **search and filter** tools to refine your view—filters are saved per user
* Monitor **modified data** streamed from field operations and office work in near real-time
* Add **comments** to coordinate with others
 Assigned Issues appear in the **Outpost mobile app**.\
Technicians will:
* Complete a **Site Check-In form**
* Record results using **mobile forms** (including photos, geotags, severity, H₂S, etc.)
* Update the status to **In Progress** and complete tasks
* Add **comments** if needed for field-to-office communication
As the technician works, the Issue progresses:
* **Open** → **In Progress** → **Done**
* Field data is streamed live (or synced when back online)
* Office staff can **review, validate, or edit** data
* Once everything is confirmed, **mark the Issue as Closed**
**You Did It!**\
✅ Created and assigned your first Issue\
✅ Tracked live progress and validated data from field operations and office work\
✅ Closed the Issue with full traceability
## Key Concepts Recap
✅ **Issue (Ticket):** Structured task related to an Asset\
✅ **Lifecycle:** Open → In Progress → Done/Closed\
✅ **Asset Link:** Every Issue is tied to a site or equipment\
✅ **Collaboration:** Shared comments, data, and attachments across devices\
✅ **Visibility:** Accessible from web and mobile (SensorUp + Outpost)
## Additional Functionality
### Task and Procedure Tracking
Each Issue may include multiple **tasks or results** related to one site visit:
* Each task has a **lifecycle**: Open → In Progress → Done
* Task **status and details** can be viewed and edited by specialists in Mission Control
* All data collected is editable (except raw observation context)
### Comments and Communication
Use the **comments section** to:
* Capture unstructured insights from field operations and office work
* Communicate in real-time across teams
* All comments are instantly visible to users with access to that Issue
Assigned Issues appear in the **Outpost mobile app**.\
Technicians will:
* Complete a **Site Check-In form**
* Record results using **mobile forms** (including photos, geotags, severity, H₂S, etc.)
* Update the status to **In Progress** and complete tasks
* Add **comments** if needed for field-to-office communication
As the technician works, the Issue progresses:
* **Open** → **In Progress** → **Done**
* Field data is streamed live (or synced when back online)
* Office staff can **review, validate, or edit** data
* Once everything is confirmed, **mark the Issue as Closed**
**You Did It!**\
✅ Created and assigned your first Issue\
✅ Tracked live progress and validated data from field operations and office work\
✅ Closed the Issue with full traceability
## Key Concepts Recap
✅ **Issue (Ticket):** Structured task related to an Asset\
✅ **Lifecycle:** Open → In Progress → Done/Closed\
✅ **Asset Link:** Every Issue is tied to a site or equipment\
✅ **Collaboration:** Shared comments, data, and attachments across devices\
✅ **Visibility:** Accessible from web and mobile (SensorUp + Outpost)
## Additional Functionality
### Task and Procedure Tracking
Each Issue may include multiple **tasks or results** related to one site visit:
* Each task has a **lifecycle**: Open → In Progress → Done
* Task **status and details** can be viewed and edited by specialists in Mission Control
* All data collected is editable (except raw observation context)
### Comments and Communication
Use the **comments section** to:
* Capture unstructured insights from field operations and office work
* Communicate in real-time across teams
* All comments are instantly visible to users with access to that Issue
 ### Reopening and Reassignment
Closed Issues can be **reopened** by administrators in Mission Control:
* Reopened Issues are automatically **re-assigned** to the original user
* The Issue appears again in their mobile app for updates or corrections
### Deleting Issues
Users with delete permissions can remove Issues that are no longer needed.
To delete an Issue:
1. Open the Issue detail view
2. Click the **actions menu** (three dots icon) in the header
3. Select **Delete**
4. Review the confirmation dialog—it will display the Issue name and confirm that assets and statuses will not be affected
5. Click **Delete** to confirm
If you are deleting an Issue created by another user, the confirmation dialog will show the creator's name and their group (if different from yours).
The actions menu is only visible if you have manage permissions. If the delete option is disabled, hover over it to see the reason.
### Bulk Deleting Issues
You can select and delete multiple Issues at once from either the Issues list view or the Issues Map view.
To bulk delete Issues:
1. Select the Issues you want to delete by clicking the checkboxes next to each Issue in the list view, or by selecting markers in the Map view
2. A floating action bar appears at the bottom of the screen, showing the number of selected Issues
3. Click **Delete** in the floating action bar
4. Review the confirmation modal, which displays the total count of Issues to be deleted
5. Click **Delete** to confirm and start the bulk deletion job
The bulk delete option is only available to users with delete permissions. Viewers will not see the selection controls or the floating action bar.
If some of the selected Issues cannot be deleted, a modal will explain the reasons why those Issues are excluded from the bulk operation.
Sub-tasks belonging to deleted Issues are not automatically removed. You will need to manage sub-tasks separately if needed.
## Permissions
Access to Issues is controlled by user roles. Understanding your role helps you know what actions you can take:
| Role | Permissions |
| ----------------- | ------------------------------------------------------------------------------------------------- |
| **Viewer** | View all Issues from groups they have access to, but cannot create, modify, or delete |
| **Editor** | View, create, and update Issues from groups they have access to; can only delete their own Issues |
| **Administrator** | View, create, update, and delete all Issues from groups they have access to |
| **Super Admin** | View, create, update, and delete all Issues |
**Need more details?** See [User Roles and Permissions](/use-sensorup/user-management/User-roles-permissions) for complete information about role-based access control across all SensorUp features.
## What's Next?
Now that you've created and completed your first Issue, you're ready to use advanced tools like triggered inspections, alarms, and multi-task workflows.
Learn how to trigger and manage optical gas imaging inspections.
Learn how to create and manage tasks within issues.
Design form templates for tasks.
Review data from completed tasks.
Complete tasks on mobile devices.
### Reopening and Reassignment
Closed Issues can be **reopened** by administrators in Mission Control:
* Reopened Issues are automatically **re-assigned** to the original user
* The Issue appears again in their mobile app for updates or corrections
### Deleting Issues
Users with delete permissions can remove Issues that are no longer needed.
To delete an Issue:
1. Open the Issue detail view
2. Click the **actions menu** (three dots icon) in the header
3. Select **Delete**
4. Review the confirmation dialog—it will display the Issue name and confirm that assets and statuses will not be affected
5. Click **Delete** to confirm
If you are deleting an Issue created by another user, the confirmation dialog will show the creator's name and their group (if different from yours).
The actions menu is only visible if you have manage permissions. If the delete option is disabled, hover over it to see the reason.
### Bulk Deleting Issues
You can select and delete multiple Issues at once from either the Issues list view or the Issues Map view.
To bulk delete Issues:
1. Select the Issues you want to delete by clicking the checkboxes next to each Issue in the list view, or by selecting markers in the Map view
2. A floating action bar appears at the bottom of the screen, showing the number of selected Issues
3. Click **Delete** in the floating action bar
4. Review the confirmation modal, which displays the total count of Issues to be deleted
5. Click **Delete** to confirm and start the bulk deletion job
The bulk delete option is only available to users with delete permissions. Viewers will not see the selection controls or the floating action bar.
If some of the selected Issues cannot be deleted, a modal will explain the reasons why those Issues are excluded from the bulk operation.
Sub-tasks belonging to deleted Issues are not automatically removed. You will need to manage sub-tasks separately if needed.
## Permissions
Access to Issues is controlled by user roles. Understanding your role helps you know what actions you can take:
| Role | Permissions |
| ----------------- | ------------------------------------------------------------------------------------------------- |
| **Viewer** | View all Issues from groups they have access to, but cannot create, modify, or delete |
| **Editor** | View, create, and update Issues from groups they have access to; can only delete their own Issues |
| **Administrator** | View, create, update, and delete all Issues from groups they have access to |
| **Super Admin** | View, create, update, and delete all Issues |
**Need more details?** See [User Roles and Permissions](/use-sensorup/user-management/User-roles-permissions) for complete information about role-based access control across all SensorUp features.
## What's Next?
Now that you've created and completed your first Issue, you're ready to use advanced tools like triggered inspections, alarms, and multi-task workflows.
Learn how to trigger and manage optical gas imaging inspections.
Learn how to create and manage tasks within issues.
Design form templates for tasks.
Review data from completed tasks.
Complete tasks on mobile devices.